
How to run windows on top of macOS in M1 mac. A step by step tutorial.
Related Post :
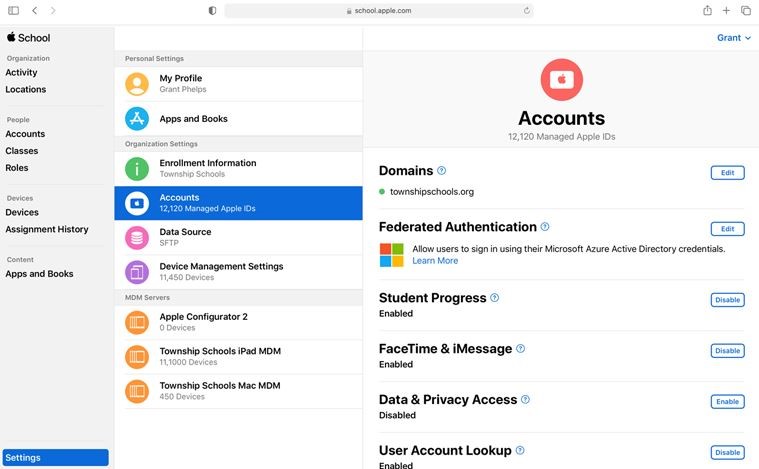
How Apple school manager helps
by Alvin Nicolas / July 25, 2021 /Apple School Manager is a web-based tool designed to help out school administrations and students. […]

Your AirPods are not playing sound
by Alvin Nicolas / April 21, 2021 /
A Step by Step Guide to Change Default Google Account
by Alvin Nicolas / March 26, 2021 /+